

Next.js provides multiple ways to style applications, including global styles, CSS modules, and styled-components. When working with individual pages, CSS modules are the best approach to ensure scoped styling and avoid conflicts. In this guide, we’ll explore how to create and manage CSS for individual pages in a Next.js project.
Using CSS Modules for Page-Specific Styling
Next.js supports CSS Modules natively, allowing you to write styles scoped to specific components or pages. CSS Modules work by creating a CSS file with the .module.css extension and importing it into the corresponding component or page.
Step 1: Create a CSS Module
Inside the app/ directory (and within the page/ folder for page-specific styles), create a CSS module file.
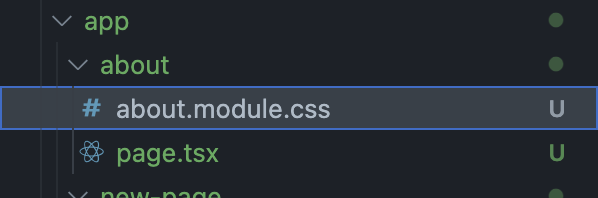
Example: app/about/about.module.css
.container {
    max-width: 800px;
    margin: 0 auto;
    padding: 20px;
    text-align: center;
    border: #0070f3, solid, 3px;
 }
 .title {
    color: #0070f3;
    font-size: 2rem;
 }
Step 2: Import the CSS Module in a Page
Now, import the module inside the corresponding page file.
Example: app/about/page.tsx
import styles from './about.module.css';

function About() {
  return (
    <div className={styles.container}>
      <h1 className={styles.title}>About Us</h1>
      <p>Welcome to our about page!</p>
    </div>
  );
}
export default About;
The result of using the CSS module and importing it to the specific page is represented in the below screenshot.

Why Use CSS Modules?
- Scoped styles: The class names are unique to the module, avoiding conflicts.
- Automatic optimization: Next.js ensures that only the necessary styles are loaded.
It is perfect to create CSS for an single page that you want affected.
Conclusion
For individual page styles, CSS Modules provide a clean, scoped, and efficient solution. With this approach, managing CSS in Next.js becomes simple and efficient!
Check out the rest of our blog posts for any other questions you may have or comment your questions below. We would love to hear and answer your questions and concerns!